


ANYTIME CT3 glucose monitoring system
ANYTIME CT3 glucose monitoring system
Continuous glucose monitoring without finger pricks
Monitor glucose changes in real time and make confident decisions daily – for more freedom, comfort, and confidence in your health.
- Real-time data 24/7 on your phone
- Reduced reliance on finger prick testing
- Rechargeable transmitter for easier use

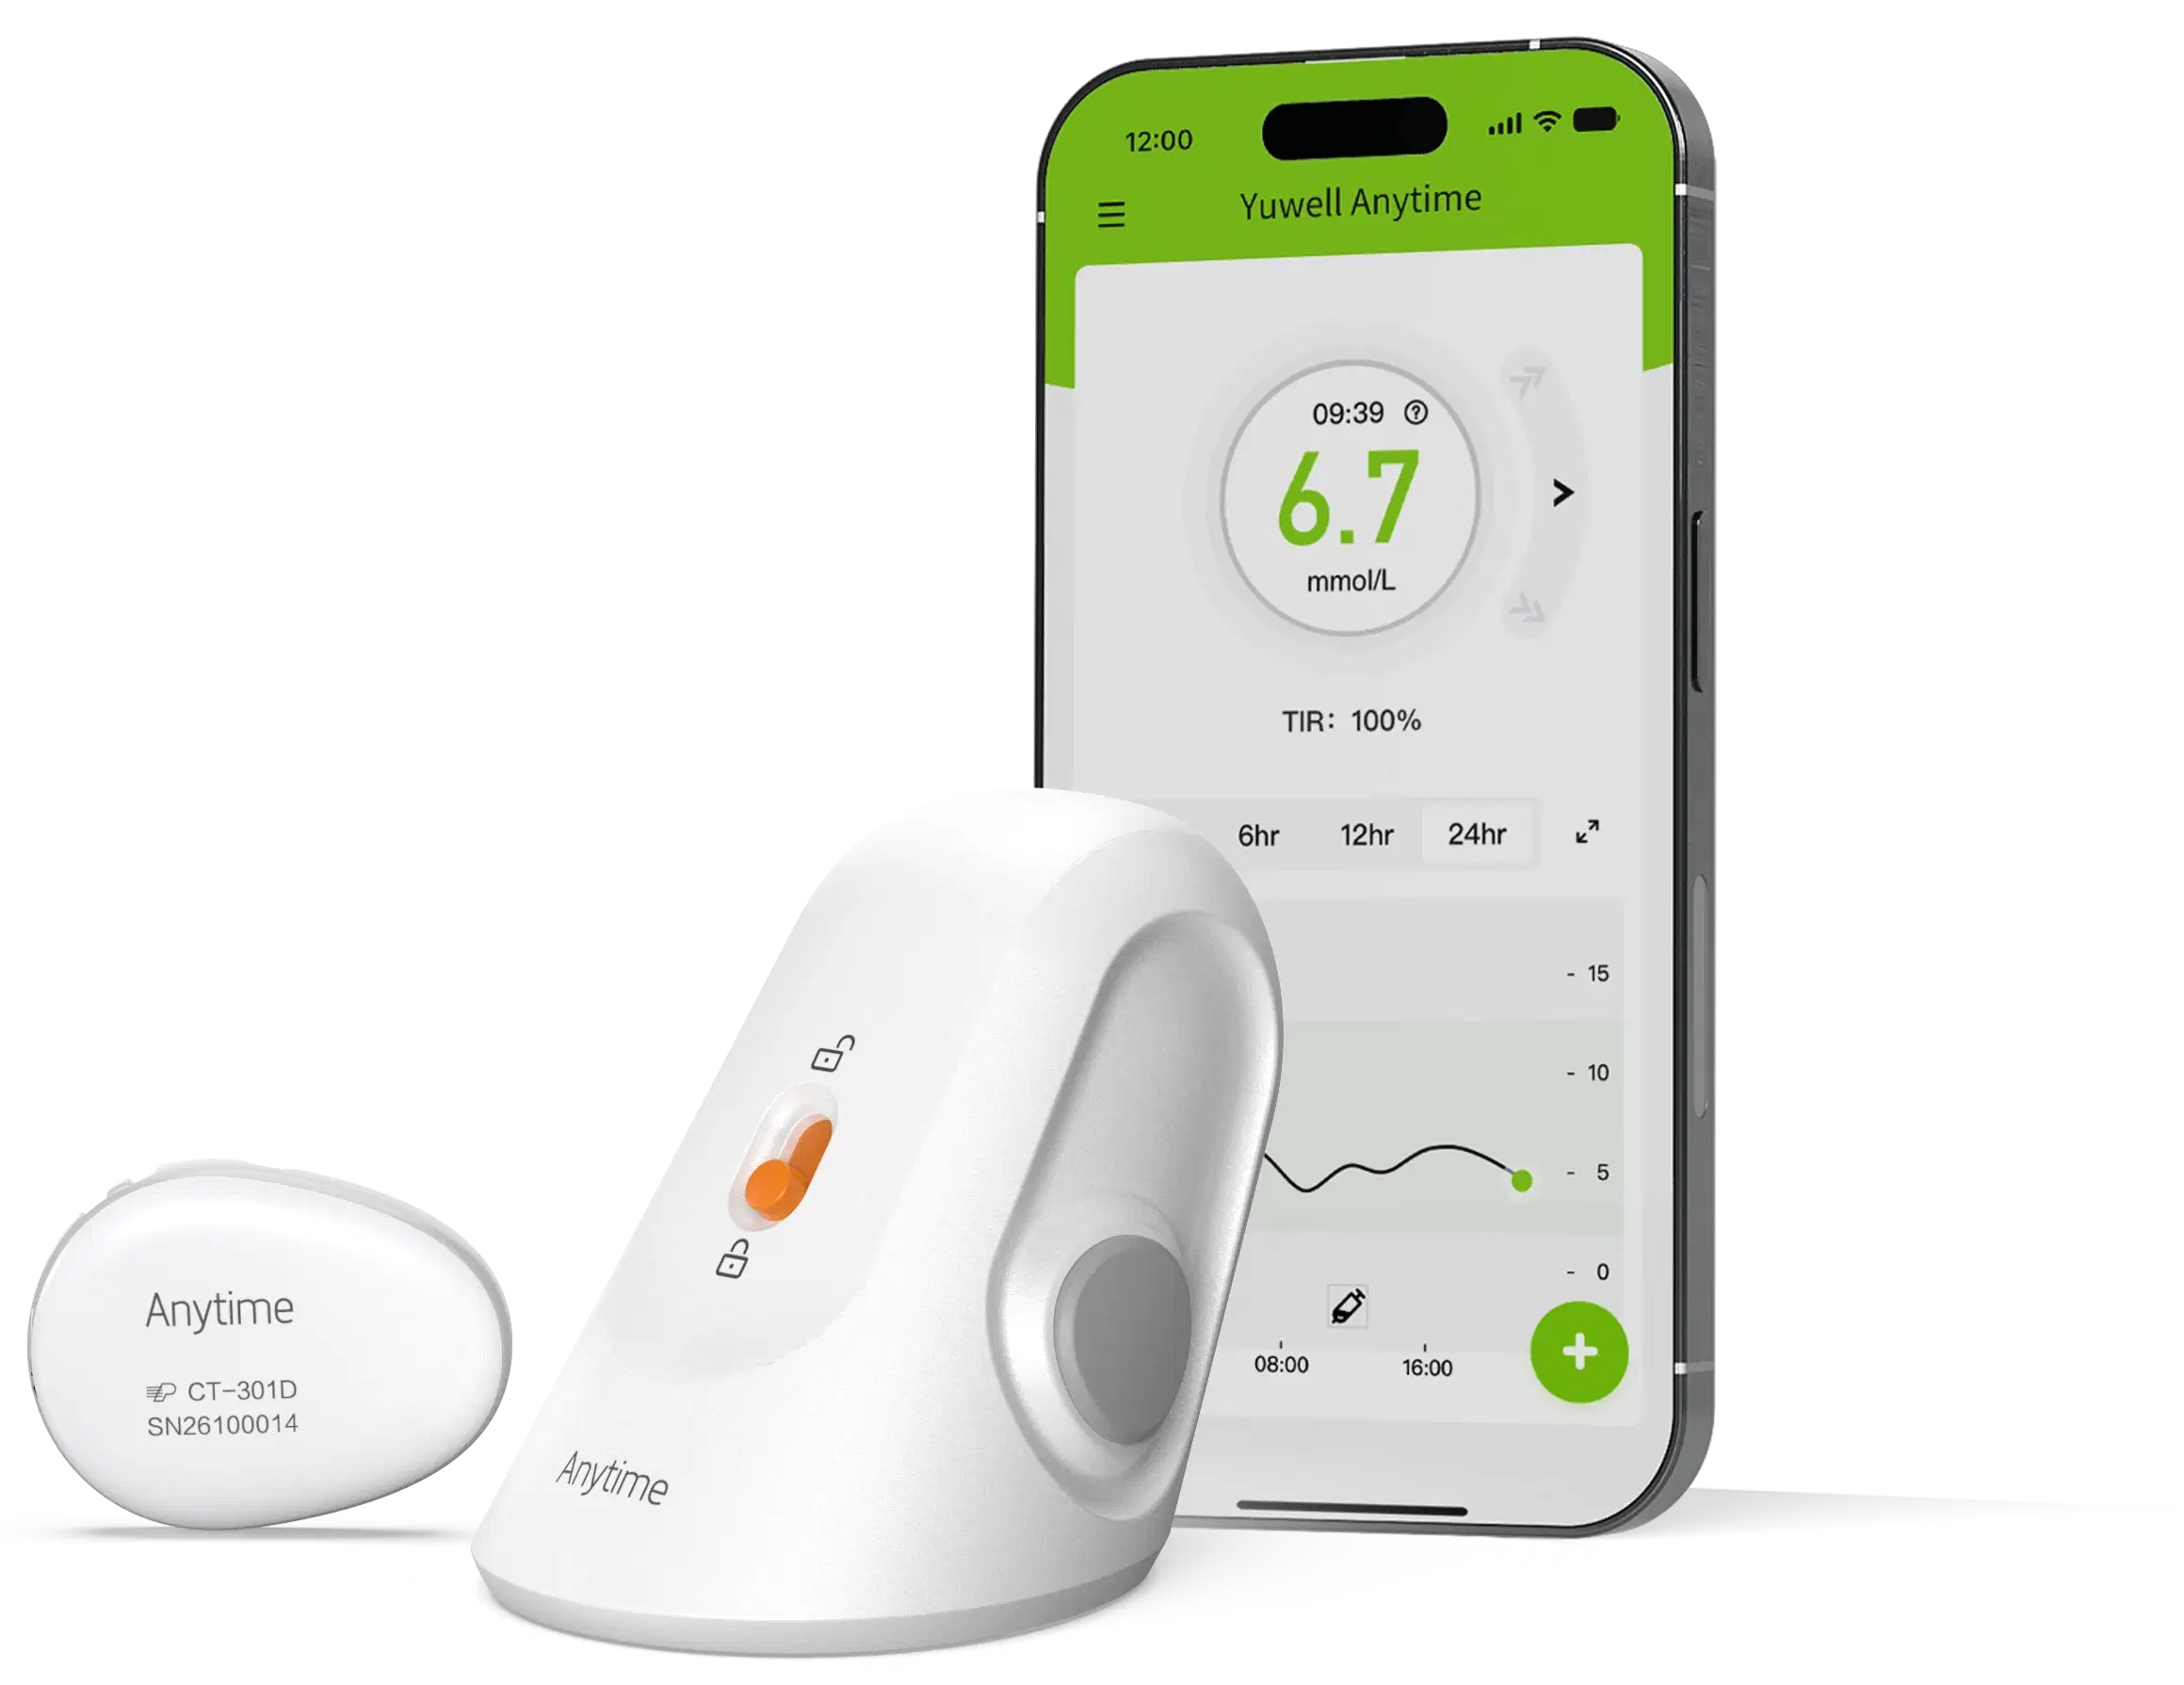
How does Anytime CT3 work?
More convenience and control in everyday life


Anytime CT3
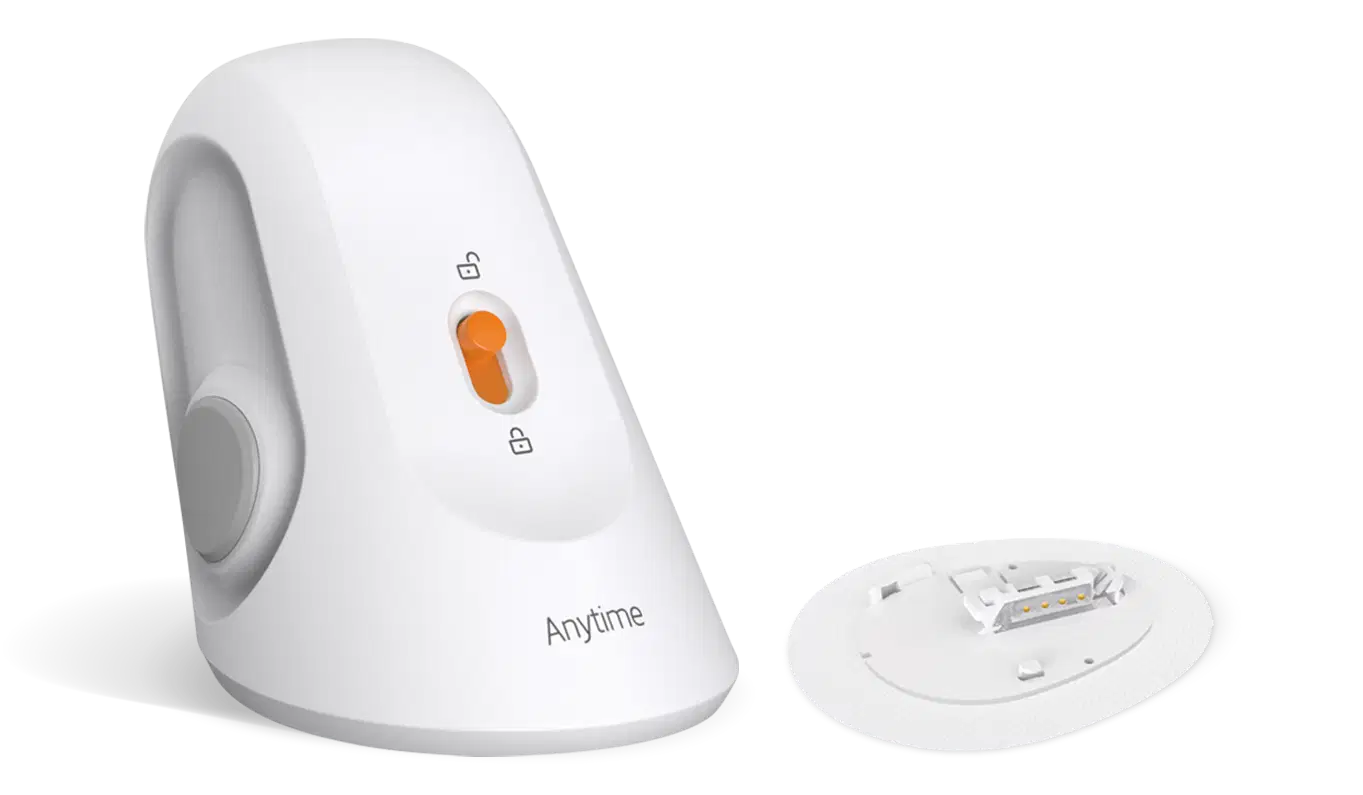
System components
The Anytime CT3 system consists of three main components that work together to provide continuous and convenient glucose monitoring.
Applicator and Sensor
Transmitter
Charging station
Control via mobile app
Manage and monitor glucose data in real-time – simply, conveniently, and without extra steps.
- All NGS data in one place, accessible with one click
- Automatic measurement every 3 minutes
- Unlimited data storage and history
- Syncing with your phone or tablet via Bluetooth
- Free app for iOS and Android devices


How to use Anytime CT3?
The system is designed for ease of daily use, from applying the sensor to monitoring data in the app.
System price
Choose the solution that works best for you
- When using the system for the first time, you need to purchase a transmitter with a charging station and a sensor.
- Later, when continuing monitoring, it's sufficient to replace only the sensors; you don't need to buy a new transmitter.
Transmitter
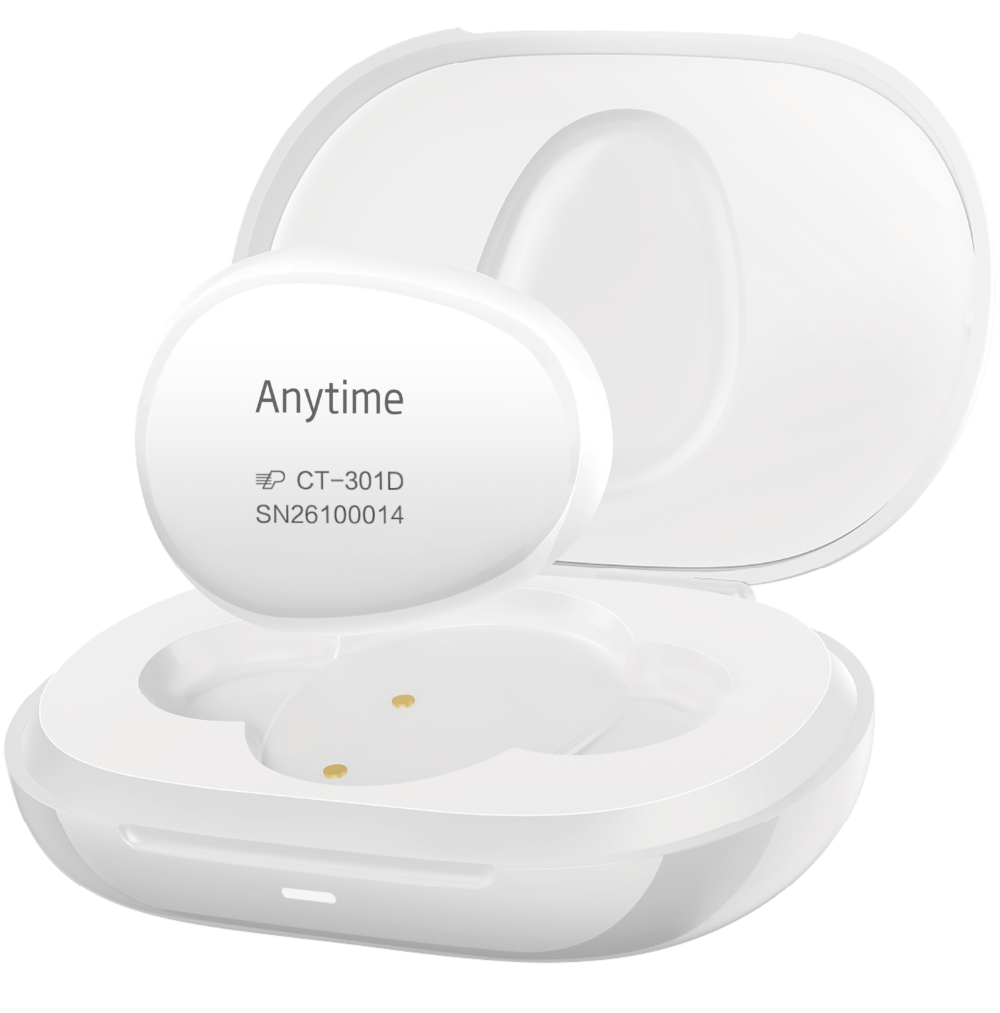
Charging station
Price:
35.00€
- Transmitter and charging station included
- Transmitter valid for up to 2 years
- On a single charge, the transmitter operates for 14 days.
Sensor
Price:
40.00€
- The sensor is replaced every 14 days
Important information and answers
Carrying the device
Yes! Both the transmitter and sensors are waterproof up to 1.5 m depth for no longer than 2 hours.
The water resistance rating is IP58.
The IP58 water resistance rating is an international standard (IEC 60529) that measures the resistance of an electronic device to dust and water. Its specific meaning can be explained in two aspects: dust protection and water protection:
1. Dust protection class (first digit: 5)
Meaning: The device is protected against dust ingress, allowing minimal dust ingress that does not affect its normal operation.
Test standard: The device is exposed to a stream of dust in a test chamber (particle diameter ≤50μm). After the test, there should not be a significant accumulation of dust inside the device that could impair its functionality.
2. Water protection class (second digit: 8)
Meaning: The device can withstand continuous immersion in water at a certain pressure and duration.
Test standard:
Typically, the device must be submerged to a depth greater than 1 meter for 30 minutes.
Step 1: Check the lock
- Please have the user check if the lock is securely fastened.
- If not, ask the user to remove the transmitter and reattach it to the sensor.
- Also, ask the user to turn the lock the other way to ensure it is properly secured.
Step 2: Check the adhesive strip
- Ask the user to check if the adhesive strip is loose.
- If it is loose, suggest attaching a reinforcing sticker to secure the sensor firmly.
Step 3: Press NGS
- Gently press the NGS and check if data transfer is resuming.
Step 4: Adhere to the warranty service strategy
If none of the above steps resolve the issue, follow the warranty service strategy.
Contact customer service for further assistance and gather the following information:
- Sensor serial number (SN).
- Screenshot from the app's homepage showing an error message.
- Portable NGS photo.
- Picture of a buckle.
Step 1: Assess the situation
- Ask the user to describe the symptoms and confirm the severity of the reaction.
- Provide recommendations based on the user's condition.
- If needed, advise the user to consult a doctor for professional medical help.
2 stages: adhere to the warranty service strategy
If necessary, follow the warranty service strategy and contact Yuwell customer service for further assistance.
Before contacting us, gather this information:
- Sensor serial number (SN).
- Photo of worn NGS.
- Photo of affected skin showing an allergic reaction.
Step 1: Assess the pain level
- Please describe your pain level and how it feels.
- Determine if the pain is bearable:
- If the pain is mild and the user mostly feels anxiety or fear, proceed to step 2.
- If the pain is unbearable, proceed to step 3.
Step 2: Encourage the user to continue wearing NGS.
- Remind the user.
- Advise him to monitor the sensor's location for any unusual signs.
- If he notices any changes at the application site, ask him to remove the NGS.
Step 3: If pain persists, remove NG tube.
- If the pain is too severe to bear, ask the user to remove the NGS immediately.
- If a new sensor needs to be attached, suggest attaching it to a different location with a thicker layer of fat to reduce discomfort.
Before starting troubleshooting:
- If the user is in a location with high electromagnetic interference (e.g., airport, subway, train station, shopping mall, exhibition center, or other enclosed spaces), ask them to move to another location before continuing.
- Ensure the transmitter is no more than 6 meters from the phone, preferably in the same room.
Step 1: Check Bluetooth settings
- Ask the user to check if Bluetooth is enabled on their phone.
- Ask the user to check if the transmitter appears in the Bluetooth settings, located in the Settings menu. ↑ Bluetooth ↑ "Device list" (note: if found, do not connect manually via Bluetooth settings!)
- Ask the user to disconnect all other Bluetooth devices that may be interfering.
- Then try connecting the Anytime transmitter in the app again.
- If you were able to connect, the problem is solved.
- If not, proceed to step 2.
Step 2: Test with another phone
- Ask the user to search for the sender using another phone's Bluetooth settings to determine if the issue is with the phone or the sender.
- If the sender is displayed on the second phone, ask the user to log into their account on the new phone and try connecting to NGS again.
- If the transmitter is not displayed, proceed to step 3.
Step 3: Restart your phone
Please ask the user to restart their phone and try logging in again.
- If you were able to connect, the problem is solved.
- If not, proceed to step 4.
Step 4: Contact customer service
If the problem is not resolved, follow the warranty service strategy and contact customer service with the following information:
1. Sensor serial number (SN).
2. Screenshot from the app page showing the error message.
3. Screenshot from the Bluetooth settings on the user's phone.
4. User environment description (e.g., is the user in a high-interference zone, such as an airport or train station).
5. Confirmation that the transmitter is fully charged (the blue light will be on).
6. Phone model and system version.
Step 1: Check the sensor and transmitter
- Please ask the user to remove the transmitter and check if there is any moisture, sweat, water, or blood on the sensor base or transmitter.
- If there are any traces of moisture or blood, ask the user to wipe and thoroughly dry the sensor base and transmitter.
2 steps: Reattach the transmitter
- Ask the user to reattach the transmitter to the sensor.
- Ensure the clasp is securely fastened by turning it back to ensure a proper connection.
3 steps: Press NGS and wait
- Ask the user to gently press and hold the NGS.
- Please wait 30 minutes to see if the data connection is restored.
Step 4: Contact Technical Support
If the previous steps do not resolve the issue, follow the warranty service strategy.
Contact customer service for further assistance and gather the following information:
1. Sensor serial number (SN).
2. Screenshot of the app's main page, displaying the message "Check sensor."
3. Photograph of a worn sensor without a transmitter.
Step 1: Check how long the NGS has been worn
Ask the user how many days they have been wearing NGS.
- If less than 48 hours, proceed to step 2.
- If it's more than 48 hours, proceed to step 3.
Step 2: Explain the adaptation phase
Please note that NGS requires an adaptation period of up to 48 hours. During this time, readings may be unstable, but they should improve after the adaptation phase.
Step 3: Check and clean the transmitter and sensor
Ask the user to remove the transmitter and check if there is water or blood on the sensor base and the transmitter.
If there is moisture or residue, ask the user to clean and thoroughly dry the sensor and transmitter.
Please re-attach the transmitter to the sensor, ensuring the clasp clicks securely into place by turning it counter-clockwise.
Gently press the NGS and wait 30 minutes to see if the data stabilizes.
- If glucose levels stabilize, the problem is solved.
- If not, proceed to step 4.
Step 4: Compare with Glucometer readings under stable conditions
Ask the user to provide two sets of glucometer glucose readings for comparison. These readings should be taken under stable body conditions (e.g., fasting, before a meal, 2 hours after a meal, before bed).
The NGS measurement should be performed 10–20 minutes after the glucometer measurement, following the guidelines of the "Expert Consensus on the Clinical Application of Continuous Glucose Monitoring in China 2024".
Step 5: Adhere to the after-sales service strategy
If the problem is unsolvable, follow the warranty service strategy.
Contact customer service for further assistance and have the following information ready:
1. Sensor serial number (SN).
2. A picture comparing NGS and glucometer readings.
3. Photo of a worn sensor.
4. Screenshot from the app's main page.
Device Initialization
Check the environment: If the user is in locations such as airports, subways, train stations, shopping malls, stores, exhibition halls with electrical appliances, MRT rooms, or small enclosed spaces, ask them to leave these locations before proceeding with the following troubleshooting steps.
Ensure proper distance: Ensure the transmitter is no more than 6 meters away from the phone. It is ideal if the phone and transmitter are not too far apart.
Step 1: Check Bluetooth settings
- Ask the user to check if Bluetooth is enabled on their phone. This can be done by going to Settings → Bluetooth → Device list.
- Even if the sender is displayed, do not connect to them from here.
- Please ask the user to disconnect all other connected Bluetooth devices. Then ask them to try connecting to the transmitter again through the Anytime app.
- If it works, stop the troubleshooting process.
- If this doesn't work, proceed to step 2.
Step 2: Charge the transmitter
- Please charge the transmitter until the blue light turns on. Before attempting to re-initialize, make sure the transmitter is on the charging base.
- If it works, stop the troubleshooting process.
- If that doesn't work, proceed to step 3.
Step 3: Try another phone
- Please ask the user to try connecting the transmitter using another phone. Ask them to look for the transmitter in the Bluetooth settings to see if it can be found.
- This will help determine if the problem is with the phone or the transmitter itself.
- If the sender is found on another phone, ask the user to switch to that phone and log in using the same account. Then return to step 2.
- If the transmitter is still not found, proceed to step 4.
Step 4: Restart your phone
- Ask the user to restart their phone and try to initialize again.
- If it helps, complete the troubleshooting process.
- If that doesn't help, proceed to step 5.
Step 5: Contact customer service
If none of the previous steps helped, follow the warranty service strategy. Gather this information so customer service can provide further assistance:
- Transmitter serial number (SN).
- Screenshot from the app page showing a transmitter search problem.
- Screenshot with Bluetooth connection settings on the user's phone.
- Description of the user's current environment, e.g., whether they are at a train station, airport, or other location that may interfere with the NGS device.
- Confirmation that the transmitter is fully charged (blue light is on).
- User's phone model and system version.
Step 1: Stop the bleeding
Gently press the sensor or transmitter (if already paired) until bleeding stops.
Step 2: Clean and dry the sensor/transmitter
Ask the user to clean and dry the sensor and/or transmitter (if the transmitter is already paired).
- If the bleeding stops and the sensor/transmitter is dry, stop the process.
- If bleeding persists, proceed to step 3.
Step 3: Remove the transmitter/sensor and follow the warranty service strategy
Ask the user to remove the transmitter (if already paired) and/or sensor.
Adhere to the warranty service strategy. If necessary, contact customer service for additional assistance. Gather the following information before contacting:
- Transmitter/sensor serial number (SN).
- Photo of CGM with visible bleeding.
- Sensor QR code.
Step 1: Assess the pain level
- Ask the user to describe their pain level and overall well-being to determine if they can tolerate discomfort.
- If the pain is mild and the user feels more concerned or scared, proceed to step 2.
- If the pain is too severe to tolerate, proceed to step 3.
Step 2: Reassure the user and suggest proceeding
- Remind the user and encourage them to continue wearing NGS.
- However, advise the user to monitor the sensor's position and pay attention to any deviations.
- If the user notices any issues with the sensor's position, ask them to remove the NGS.
Step 3: Remove NGS
- Ask the user to remove the NGS immediately if the pain is unbearable.
- If the user has to wear another sensor, suggest attaching it to a different location with a thicker layer of fat, as this may reduce the likelihood of pain.
Step 4: Follow the warranty service procedure
Follow the warranty service strategy and contact customer service for additional assistance. Gather the following information before contacting them:
- Sensor serial number (SN).
- Portable NGS photo.
- Sensor QR code.